Hafting a Stone Blade the Old-Fashioned Way
Page 2
|
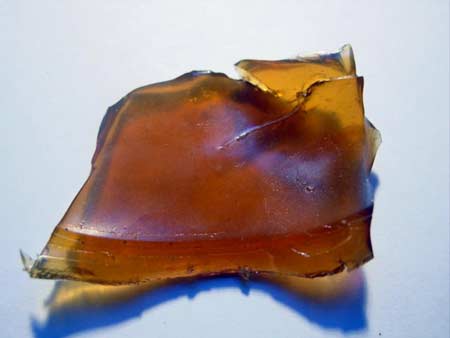
| A dried piece of Deer Hide Glue. While living on the Olympic
Peninsula of Washington State, I was lucky enough to come across
numerous dead deer. Strip the hide off, de-hair it by soaking for
four days in a solution of four gallons water and one gallon wood
ash, then boil the hides in fresh water for 8-12 hours. The collagen
and other proteins dissociate from the skin and rise to the top of
the water. Scrape this glue off the top and let dry. Deer hide glue
is notorious for molding quickly. I ended up putting the lot into a
food processor (not mine, thankfully) and grinding it so that the
resulting tiny bits would be able to dry through-and-through. |
 |
| |
|
|
| |
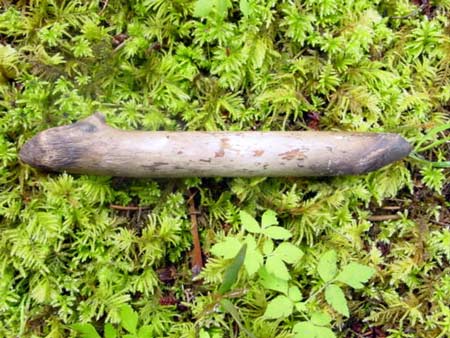
| Finished with the burning and sanding. |
 |
| |
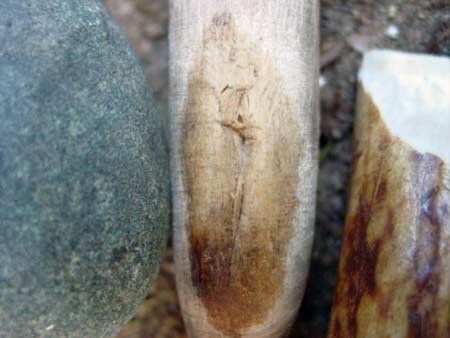
| Not a great photo, but you can barely see the Elk Antler Wedge (on
the right) that I used to score and eventually split the side of the
handle where the blade will be inserted. |
 |
| |
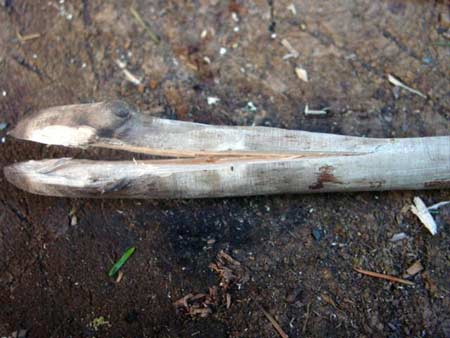
| After splitting the handle once, I split it again in order to remove
a wedge of wood, which makes room for the stone blade. |
 |
| |
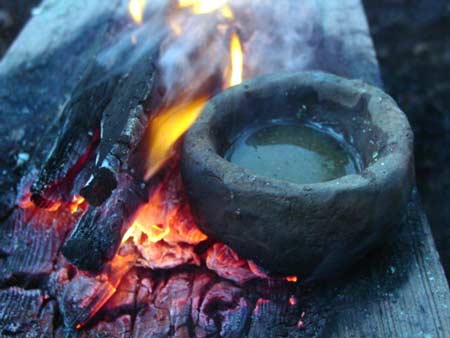
| Using a piece of clay-and-sand pottery and fire, I melt some deer
hide glue. Unfortunately, I chose to learn my lesson quite a few
times that week regarding the erroneous use of flames to coal-burn
containers. Here I am wasting yet another fine block of Western Red
Cedar. |
 |
| |
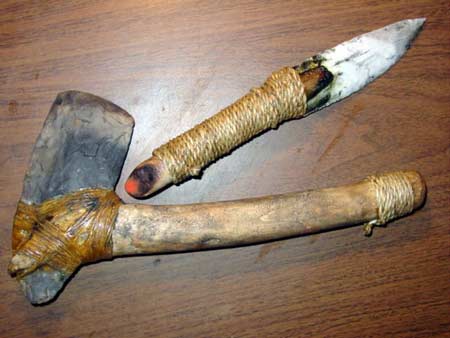
| After applying hide glue to the blade and inserting the stone
cutting tool into the handle, I wrapped a length of Australian Sea
Grass Cordage around the handle. The cordage makes me feel as though
the tool will last longer before falling apart eventually. And I
like the feel of it. The red dot at the bottom of the handle is
ground-up hematite (mineral paint). The hatchet was made in a
similar fashion, but was wrapped in split deer intestine. |
 |
| |
|
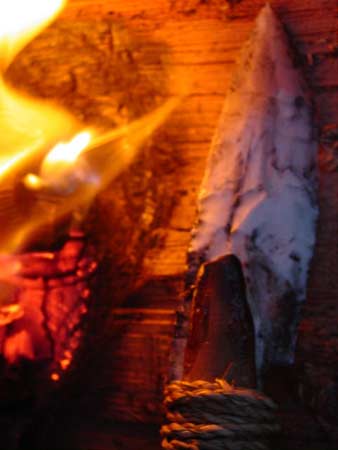
Voila...finis. |
 |
| |
|
Back to Page 1 |
| |
| View this
article as a PDF |


